How to Actually Test Insulation Performance Before You Buy at Volume
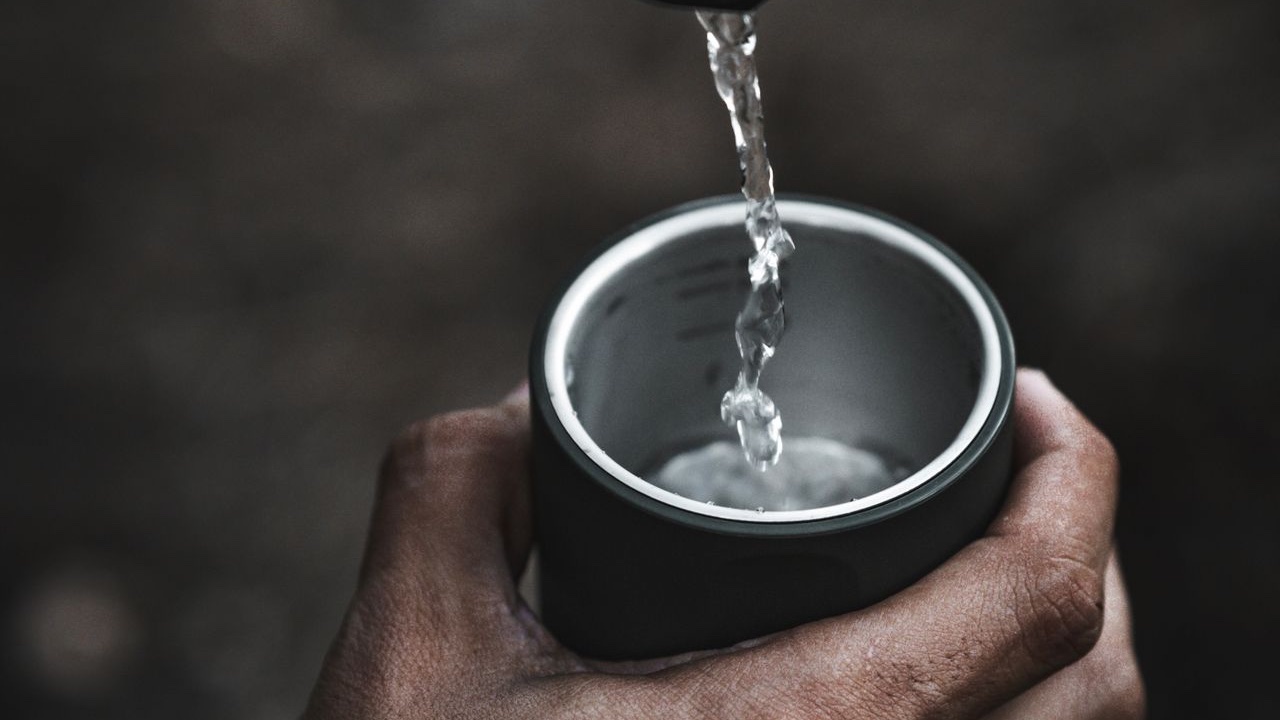
Insulation performance is one of the most commonly cited selling points for double-wall vacuum tumblers, and one of the most difficult to verify from a spec sheet. “Keeps drinks cold for 24 hours” is a claim with no standardized test behind it — different manufacturers measure under different conditions, with different starting temperatures, different ambient environments, and different definitions of “cold.” Comparing claims across suppliers doesn’t tell you how the products will perform in actual use.
For buyers placing bulk orders, testing before committing to volume is worth the time. The testing process doesn’t require specialized equipment — it requires consistency and patience.
What determines insulation performance
A double-wall vacuum tumbler’s insulation depends on two things: the quality of the vacuum between the inner and outer walls, and the coverage and type of any additional insulating layer applied to the inner wall (typically a copper foil or reflective coating).
The vacuum is the primary insulating mechanism. Air is a poor conductor; a vacuum is better. The gap between the walls needs to be evacuated to a low enough pressure that conductive heat transfer through the remaining air is minimal. The seal at the vacuum port — the small dimple visible at the bottom of most stainless tumblers — determines whether the vacuum holds over time. A well-sealed vacuum port maintains near-zero pressure indefinitely; a poor seal allows air to gradually re-enter, degrading insulation performance over months.
The reflective coating reduces radiant heat transfer. Without it, infrared radiation passes through the vacuum gap and transfers heat between the inner and outer walls directly. With a copper or silver foil lining, most of the radiant energy is reflected back. The difference between a vacuum-only wall and a vacuum-plus-reflective-coating wall is meaningful — typically an additional two to four hours of cold retention under the same conditions.
Setting up a consistent test
Testing insulation performance requires consistent starting conditions. Temperature differences drive heat transfer; the same product will appear to perform differently depending on ambient temperature, starting beverage temperature, and how much of the tumbler is filled.
A basic protocol that produces comparable results: use ice water at a fixed temperature (aim for 2-4°C), fill the tumbler to a consistent level (80% capacity), seal the lid, and place it in a room-temperature environment with no direct sunlight. Measure the water temperature at fixed intervals — 1 hour, 3 hours, 6 hours, 12 hours, 24 hours — using a probe thermometer inserted the same way each time.
This protocol won’t replicate every real-world use case, but it produces numbers that are directly comparable across products tested under the same conditions. A tumbler that reaches 10°C at 12 hours can be compared to one that reaches 15°C at 12 hours; the difference is real and reproducible.
Common failure patterns in low-performing samples
A tumbler that underperforms in testing almost always has one of three issues: vacuum degradation, inadequate reflective coating, or lid thermal bridging.
Vacuum degradation shows as poor performance from the first use — not degradation over time, but starting below where it should be. This suggests the vacuum was never fully established during manufacturing, or the seal was compromised before the product shipped. The outer wall of a properly vacuumed tumbler will never feel as cold as the inner contents, even after hours; a tumbler with a failed vacuum will show external condensation and feel cold on the outside, because heat is transferring through the wall.
Inadequate reflective coating is harder to detect without disassembly, but its effect shows in testing as performance that’s noticeably worse than comparable products from established suppliers, particularly at longer time intervals. The gap typically widens after six hours rather than showing from the start.
Lid thermal bridging is worth testing separately. Remove the lid and test a tumbler with foil or cling film covering the opening. If the temperature retention improves significantly without the lid, the lid is contributing to heat loss. This matters for bulk insulated tumblers where the lid construction varies significantly across price points — a cheap plastic lid with no gasket or a large straw opening loses heat substantially faster than a well-designed lid with a tight seal.
Testing hot retention alongside cold
Hot retention testing follows the same protocol with hot water (start at 90-95°C) and measures how long the temperature stays above a useful threshold — 60°C is a reasonable lower bound for coffee that’s still hot enough to drink comfortably.
Hot retention tends to show larger performance differences between products than cold retention, because the temperature differential is larger and degradation is more visible in absolute terms. A product that loses 5°C of cold retention compared to a competitor may lose 15°C of hot retention under the same conditions.
For applications where the tumbler will be used for hot beverages — coffee service, event catering, office use — hot retention is the more relevant test and worth running in parallel with cold.
Wash cycling and long-term seal performance
A tumbler that tests well on first use may perform differently after repeated use and washing. Dishwasher cycling, in particular, exposes the lid gasket to high heat and detergent, and the vacuum port seal to pressure differentials.
A realistic pre-volume-commitment test protocol includes: initial performance test (as described above), 25 dishwasher cycles (high heat setting, standard detergent), and repeat performance test. Performance degradation between the two tests is a leading indicator of how the product will hold up over its intended service life.
For bulk orders destined for heavy daily use — employee drinkware, food service, fitness contexts — this extended test protocol is worth running. For lighter-use applications like conference swag that may be used occasionally, the initial test alone is usually sufficient.
What to do with the test data
Numerical test results serve two purposes: comparing products during supplier selection, and establishing a performance floor to include in purchase specifications.
Including a performance specification in the purchase order — for example, “product must retain cold water below 10°C for 12 hours under standard test conditions” — creates a basis for rejecting product that doesn’t meet spec and for holding suppliers accountable for the performance claims that influenced the purchase decision. Without a written specification, a supplier whose product underperforms has no documented standard to be held to.
For large orders, it’s reasonable to request that the supplier confirm testing against the same protocol using production samples before shipment. Some suppliers have in-house testing equipment and can provide data; others will commit to meeting the spec but not to providing documentation. The supplier’s response to this request is itself informative — a supplier confident in their product’s performance is generally more willing to test than one who is not.